 Pancakes are one of our go-to choices for Sunday breakfast. In fact, I live with the greatest pancake flipper that ever lived (oh lucky me!). I usually do the mixing of the batter and he does the flipping. I chose this recipe for the challenge because it won a recent pancake recipe contest between Devin and I. These pancakes have great color, a wonderful smell, and they are delicious.
Pancake ingredients
1 1/3 C all purpose flour
1 tsp. baking powder
1/4 tsp. baking soda
1/2 tsp. ground ginger
1 tsp. ground cinnamon
1 large egg
1 1/4 C milk
1/4 C molasses
3 Tbsp. vegetable oil

SOPP (Standard Operating Pancake Preparation)
1. stir together dry ingredients
2. in a separate large bowl, beat egg with
 milk. mix molasses and oil together then pour into egg mixture and mix well.
3. Add flour mixture to wet ingredients ans stir until combined. Batter will be a little lumpy.

4. This is where my job ends and Devin's begins. Grease and heat a griddle. Pour small amount of batter for each pancake onto the griddle. So I guess he magically knows when to flip and BAM a perfect pancake!


Lemon Sauce
This sauce is great with the pancakes. It makes enough for leftover pancakes too! I usually make this while Devin is cooking the pancakes.
1/2 C granulated sugar
1 Tbsp. corn starch
1 C hot water
2 Tbsp. butter
1/2 tsp grated lemon peel (I never have this so I omit it)
2 Tbsp. lemon juice
To make sauce, mix sugar and cornstarch in a medium saucepan. Gradually add hot water; cook stirring over medium heat until the mixture is thick and clear.
I have to admit that I have NEVER got this sauce to thicken. I commonly have this problem with white sauces as well. I don't know why either. I may be too impatient or maybe there isn't enough cornstarch in the recipe. If someone makes this and gets the sauce to thicken, please TELL ME.
Once sauce is thickened* add butter and lemon. Stir until butter melts. Serve sauce warm drizzled over pancakes.

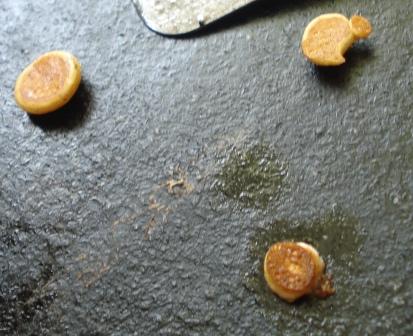 The cute mini pancakes are my favorite! I foolishly grab them off the griddle and burn my fingers, but they are so tasty!


